In 2016, the author began growing food in a closet garden and saw a rapid rise in tiny pests that threatened every plant in sight.
Many houseplant owners were surprised to learn that a single insect can multiply fast if the home environment goes unchecked. Early ID matters. Finding common pests early saves time and keeps green spaces healthy.
The sudden explosion the author experienced is a warning. A proactive approach to monitoring and simple checks can prevent a small issue from becoming a full infestation. Readers will learn how to spot damage and act before it spreads.
Key takeaways: Watch leaves for spots and webbing. Inspect soil and stems. Act quickly when a pest is found to protect your plants and preserve healthy growth.
Understanding the Risks to Your Indoor Greenery
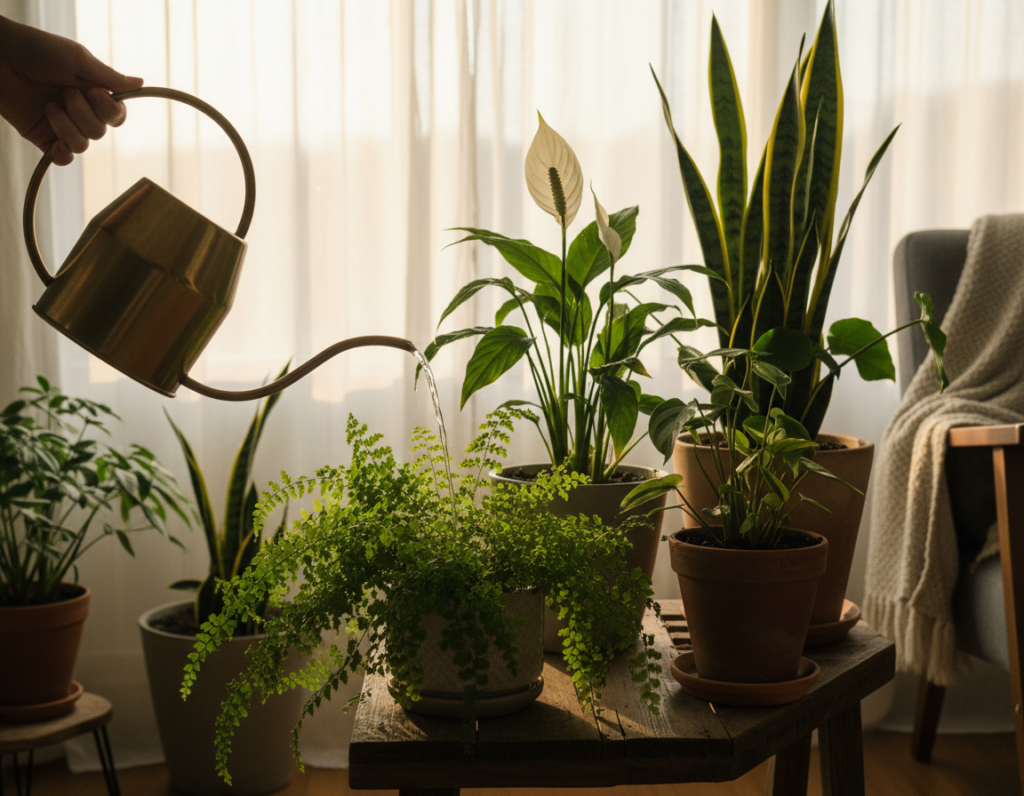
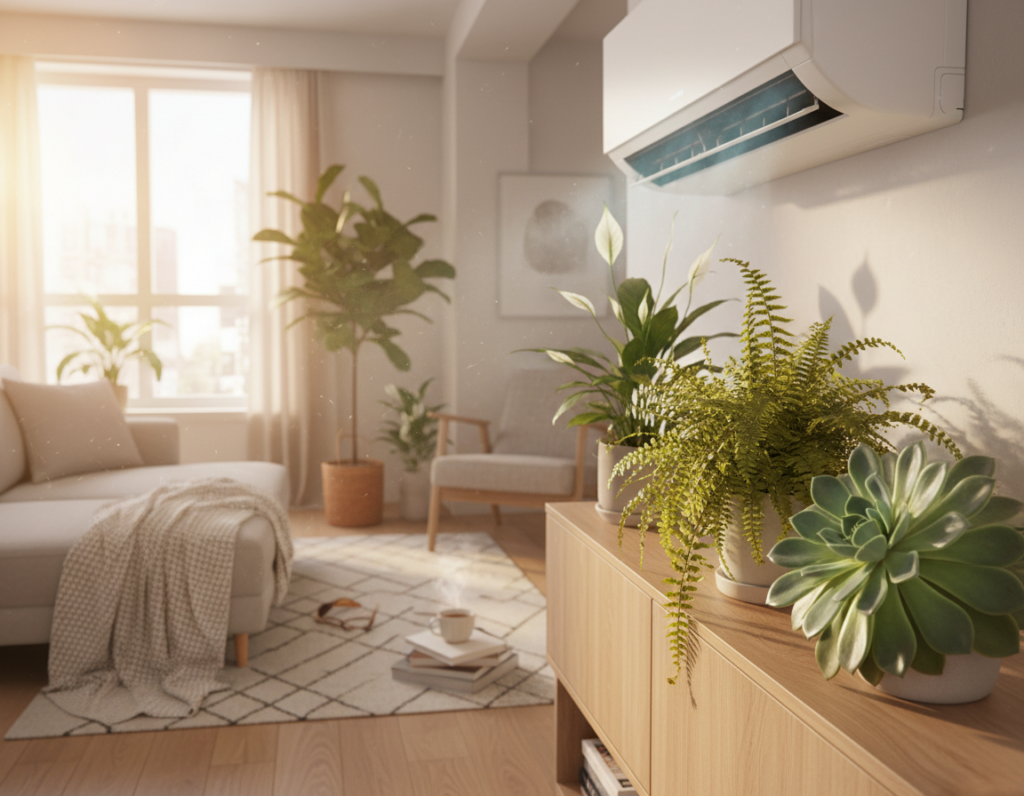
Healthy greenery loses its edge when environmental stress invites tiny invaders. A struggling plant cannot mount a strong defense. Low light, wrong temperatures, or erratic watering all reduce natural resilience.
Proper plant care is the first line of defense. A strong specimen resists pests and recovers faster after damage.
- Keep light and temperature stable so growth stays vigorous.
- Water correctly to avoid both drought stress and root rot.
- Check houseplants often to find early signs of an insect or pest.
- Know each species’ needs so you can adjust care before problems start.
Maintaining a healthy home environment reduces the chance that small pests will multiply. Regular inspection and steady routines let owners spot issues early and protect their greenery.
Identifying Common Bugs on Indoor Apartment Plants
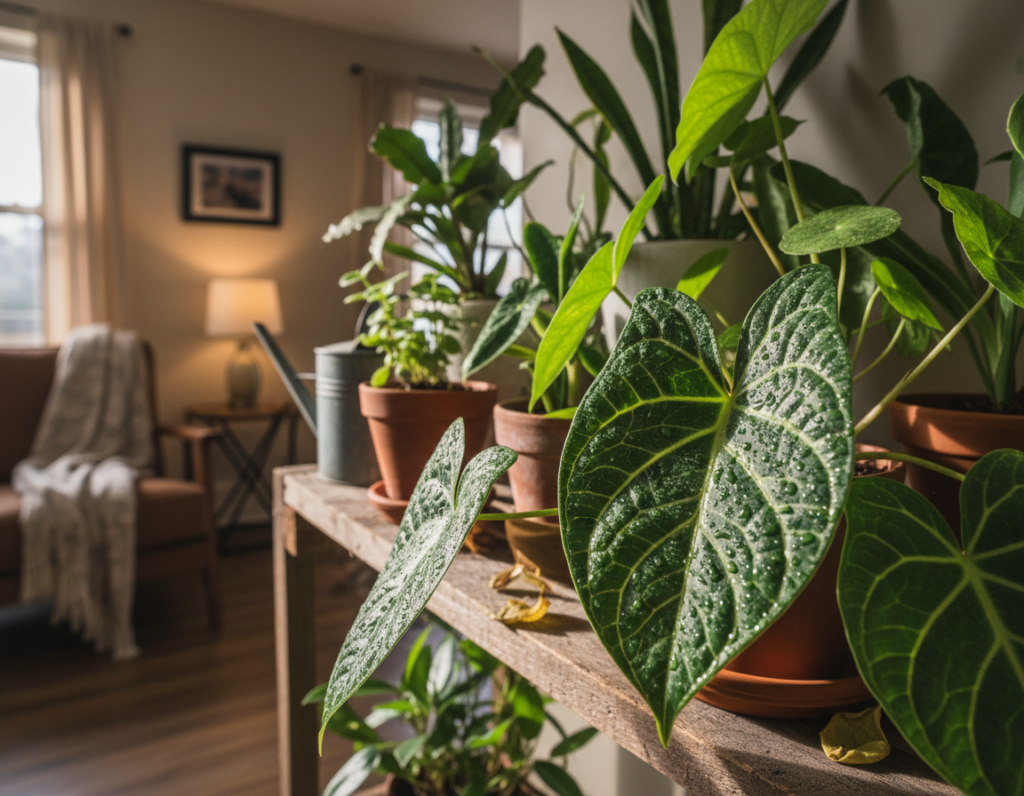
A close visual inspection reveals the quiet signs that a plant is under stress. Early spotting keeps damage small and recovery simple.
Visual Signs of Infestation
Look for discoloration, sticky residue, and tiny eggs. A discolored leaf often signals sap feeding. Sticky honeydew indicates many insects are present.
Check stems and the undersides of every leaf. Hidden crevices hide the earliest offenders. Regular checks protect houseplants and the broader home collection.
Using Magnification Tools
A ten-power hand magnifying lens makes a major difference when searching for tiny pests. It reveals minute insects and eggs that are invisible to the naked eye.
- Identify a pest early by examining the undersides of each leaf.
- Inspect for honeydew and egg clusters in leaf crevices.
- Use magnification as part of routine care to catch issues before they spread.
Proactive Strategies for Preventing Pest Infestations
A simple quarantine routine stops many problems before they reach the main collection. It is a low-effort step with high payback. New arrivals need a short holding period so any signs of trouble appear away from established plantings.
Quarantine Procedures for New Plants
Isolate each new plant for one to two weeks. This pause lets an owner detect eggs, scale, or other insect activity without risking the rest of the collection.
- Keep the plant separate for two weeks before placing it near other plants.
- Inspect the soil and lift the root ball to look for eggs or larvae.
- Always repot with fresh, sterile potting soil and a clean container.
“A brief quarantine and a fresh pot reduce the chance that a pest will spread.”
Proactive checks should include the foliage and the potting medium. If any sign of a pest appears, treat it before integration. For more detailed guidance on how to reduce or eliminate pests, see reduce or eliminate pests.
Managing Scale Insects and Mealybugs
Hidden under leaves and clinging to stems, scale insects and mealybugs steadily weaken a plant.
Brown soft scale (Coccus hesperidum L.) is small — about 3–4 mm — and prefers woody stems. It attaches and feeds until growth slows.
Mealybugs hide in crevices and can deposit roughly 600 eggs in cottony masses under a leaf or along stems. That makes early detection critical.
Spot-treat mealybugs with a cotton swab dipped in alcohol to break the protective coating. If scale is present, gently scrape it off the stem with a fingernail or small tool.
- Use insecticidal soap sprays and horticultural oil regularly to reduce populations over several weeks.
- Check soil and stems during routine inspections to find eggs or fresh activity early.
- Isolate affected houseplants until treatments show clear progress.
“Quick physical removal plus targeted sprays stops many infestations before they spread.”
Controlling Aphids and Whiteflies
Soft-bodied sap feeders can move from a few adults to total coverage of a stem in under a week. Aphids reach reproductive maturity in about eight days, so early removal matters.
Whiteflies complete a full life cycle in roughly 30 days. They often leave sticky honeydew on a leaf. That residue promotes black sooty mold and reduces growth.
Quick, physical control yields the best results. Use a forceful spray of water to dislodge aphids. Follow with a targeted insecticidal soap applied to stems and leaf undersides.
- Wipe visible colonies away and treat eggs found near stems.
- Repeat sprays every 5–7 days until no new activity appears.
- Watch for ants; they farm honeydew and can spread the issue through the home.
“Early intervention stops rapid reproduction and prevents sooty mold from taking hold.”
Dealing with Spider Mites and Thrips
When humidity falls and temperatures climb, minute mites multiply quietly and harm growth. These tiny spider-feeders favor warm, dry conditions. At about 80°F they reproduce rapidly.
Detecting webbing and damage begins with visual checks. Fine webbing under a leaf and stippled discoloration are classic signs. A simple paper test helps: tap foliage over a white sheet. Tiny specks that fall reveal active mites.
Inspect stems and soil margins for eggs or new activity. Early detection limits spread to other houseplants.
Environmental adjustments
Raise humidity and reduce heat to slow mite development. Frequent misting, a pebble tray, or a small humidifier improves conditions for the plant and deters spider mites.
Treatment options include targeted insecticidal soap sprays and light horticultural oil. These measures reduce populations without harsh chemicals when used every 5–7 days until no live mite appears.
“Higher humidity and prompt sprays keep fragile foliage healthy.”
Addressing Fungus Gnats in Potting Soil
Tiny flies that hover above pots signal a deeper problem in the potting mix. Fungus gnats lay eggs in moist potting soil, and the larvae feed in the top 1 to 1.5 inches of that medium.
Larvae consume fungi and tender root tissue. Over time they reduce growth and stress a young plant’s root system.
To reduce populations, allow the top layer of soil to dry out fully between each watering. That simple change breaks the larvae’s life cycle and cuts eggs’ survival.
- The adult fungus gnat is a feeble flier often seen circling the soil surface.
- Yellow sticky traps help monitor adult numbers while you treat the soil for larvae.
- If infestation is suspected, gently check roots for damage and remove heavily infested soil.
“Allowing the topsoil to dry and using traps gives quick feedback and slows future fungus pressure.”
Utilizing Natural and Chemical Treatment Methods
Timely intervention that pairs hands-on removal with safe sprays preserves both foliage and roots. Choosing the right approach depends on the pest, the plant’s condition, and the potting soil moisture. Careful selection reduces harm to growth and beneficial insects.
Physical Removal Techniques
Manual removal is the first, least toxic step. Use a cotton swab dipped in alcohol to wipe mealybugs and scale from crevices. Remove heavily affected leaves and prune stems with clean tools.
Repeat checks after a week to find any newly hatched eggs or adult survivors. Clean up fallen debris and honeydew to limit mold and further decline.
Insecticidal Soaps and Oils
Insecticidal soap sprays and horticultural oil smother soft-bodied pests like aphids, whiteflies, and spider mites. Apply to the leaf underside and stem where insects hide.
Follow label directions and test a small section first if the plant shows moisture stress. Reapply every 5–7 days until no live insect appears.
Systemic Pesticide Precautions
Systemics such as Imidacloprid are taken up by the roots and protect a plant for months. They work well for persistent scale and soil-feeding larvae, including fungus gnats.
Use caution: do not move treated plants outside while flowers may attract bees. Ensure the potting soil is stable and roots are healthy before applying systemic chemistry to avoid leaf scorch.
- Inspect soil moisture and roots before treatment.
- Combine manual cleaning, soap/oil sprays, and targeted systemic use when needed.
- Remove honeydew and sooty mold promptly to aid recovery.
“Consistent care and matched treatments stop pests without sacrificing plant health.”
Conclusion
A steady routine of checks and simple care keeps minor infestations from becoming major setbacks. Regular inspection of each plant helped catch problems early and kept recovery straightforward.
Clean potting soil, proper watering, and targeted treatments reduced the chance that pests would spread or leave eggs hidden in the medium.
Understanding lifecycles guided timely action and supported healthy growth. With consistent care and monitoring, hobbyists protected their plants and preserved leaf vigor.
Final thought: simple, repeatable habits proved the most effective defense for a thriving collection and long-term success.